Datalayer in JupyterLab
Datalayer integrates seamlessly as a JupyterLab extension, allowing you to manage and interact with Runtimes directly from your familiar JupyterLab interface. The extension mirrors the functionality available on Datalayer Platform once you log in.
Installation
To install the Datalayer extension for JupyterLab, ensure you have python>=3.9 and pip installed on your machine. Then, run the following command in your terminal.
# Use --upgrade if you want to update an existing installation to the latest version.
pip install datalayer
Environment setup with conda
If you are using conda, you can create a new environment and install the required packages as follows. Note that conda and conda are interchangeable.
ENV_NAME=datalayer
conda create -y -n $ENV_NAME
conda activate $ENV_NAME
conda install -c conda-forge -y python=3.11 pip
pip install datalayer
Datalayer currently supports JupyterLab versions >= 4.4.2.
Start JupyterLab as usual.
jupyter lab
You can provide traits to configure the Datalayer server as well as additional options used at runtime.
jupyter lab \
  --DatalayerExtensionApp.run_url="https://prod1.datalayer.run" \
  --DatalayerExtensionApp.white_label=False \
  --DatalayerExtensionApp.Launcher.category="GPU" \
  --DatalayerExtensionApp.Launcher.name="GPU Runtimes" \
  --DatalayerExtensionApp.Launcher.icon_svg_url="https://raw.githubusercontent.com/datalayer/icons/main/svg/data2/circle-white.svg" \
The traits can be provided in a configuration as well, see the Jupyter common directories and file locations.
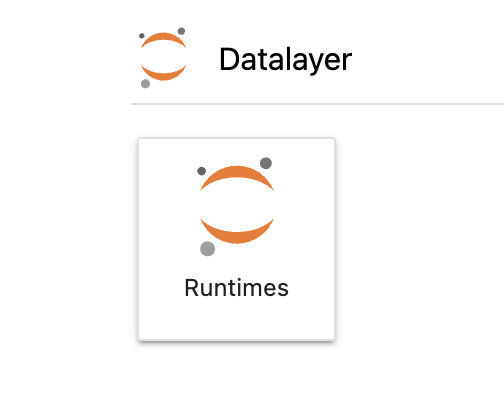
Datalayer introduces a new tile in the JupyterLab launcher, allowing you to access the Datalayer interface directly from the JupyterLab.
Click on the Runtimes tile to access the Datalayer interface.
Account
Once Datalayer is installed and you have clicked on the Runtimes tile, you will be prompted to log in to your Datalayer account.
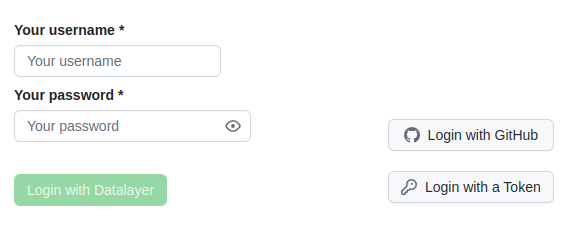
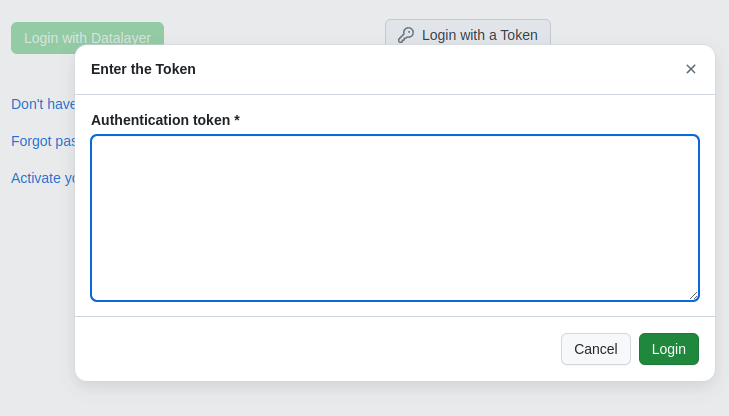
If you have a Token, you can use it to authenticate. The Token can be a Datalayer Token or an External Token in case of integration with an External IAM Provider.
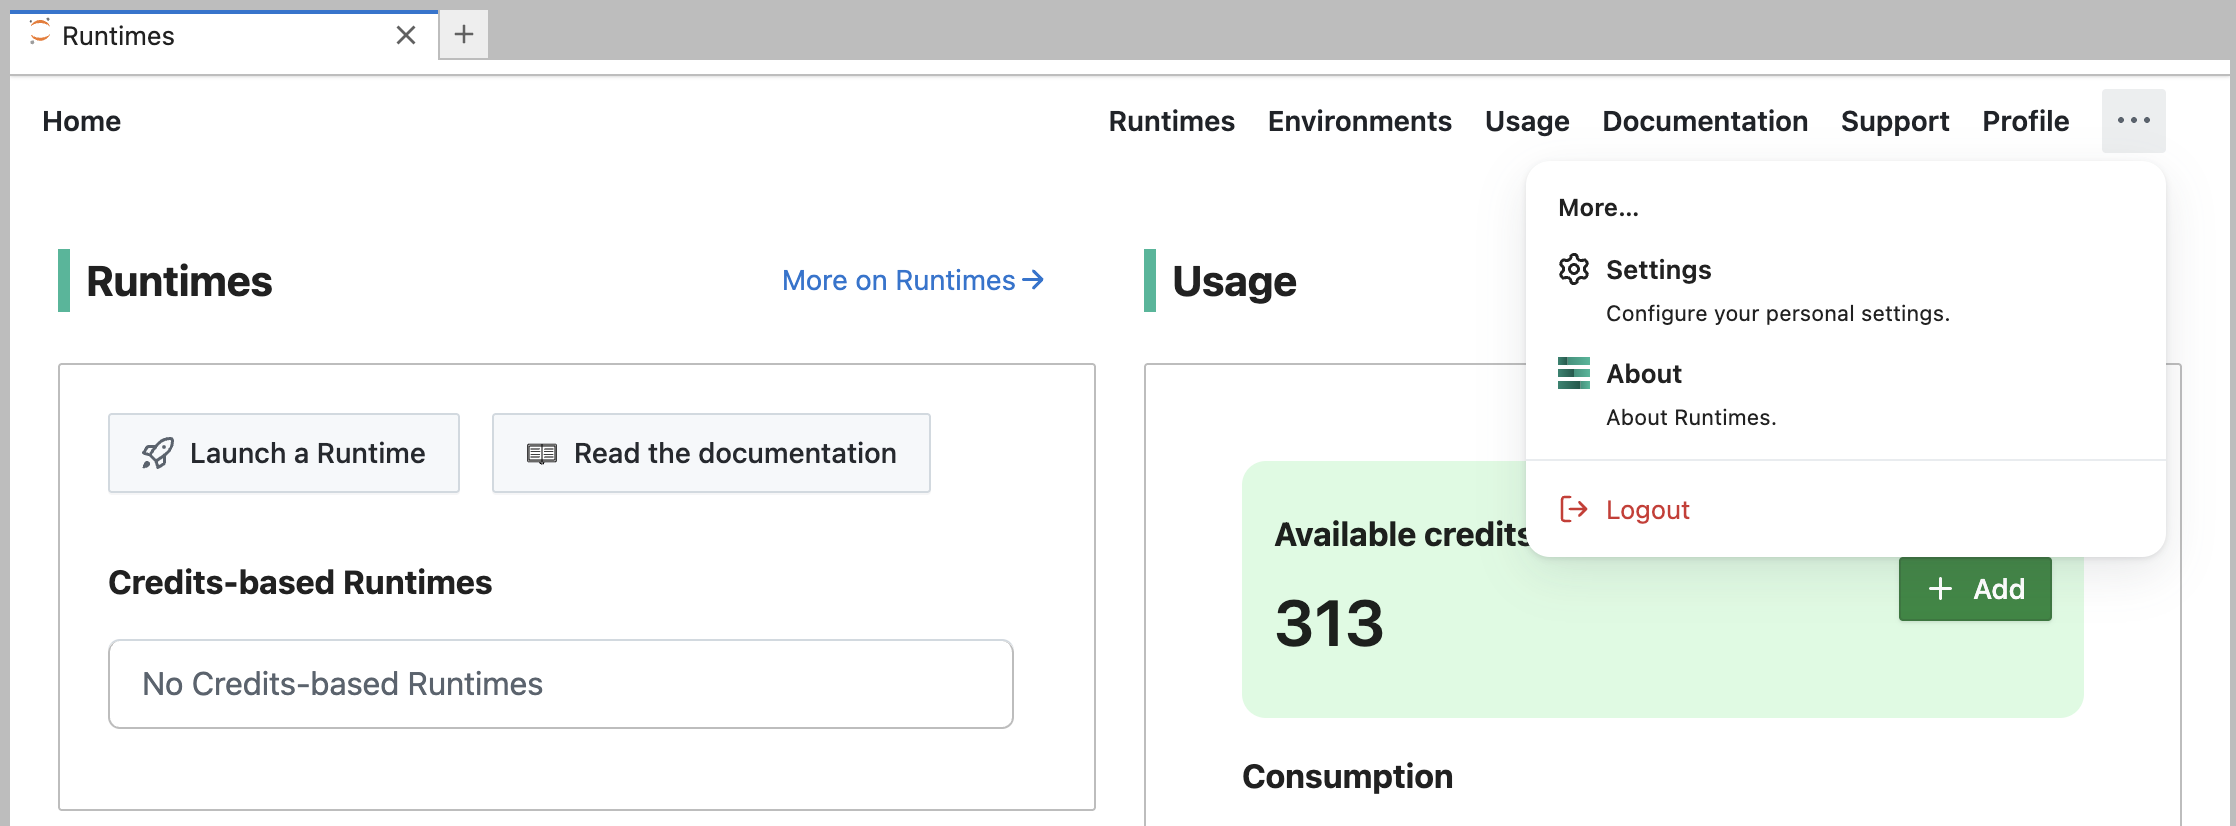
Once logged in, you can view the details of your profile. You can view your profile details in the "Profile" section.
You can logout at any time.
Runtimes
You can manage your Runtimes from the "Runtimes" tab.
Refer to the Runtimes feature documentation for more information.
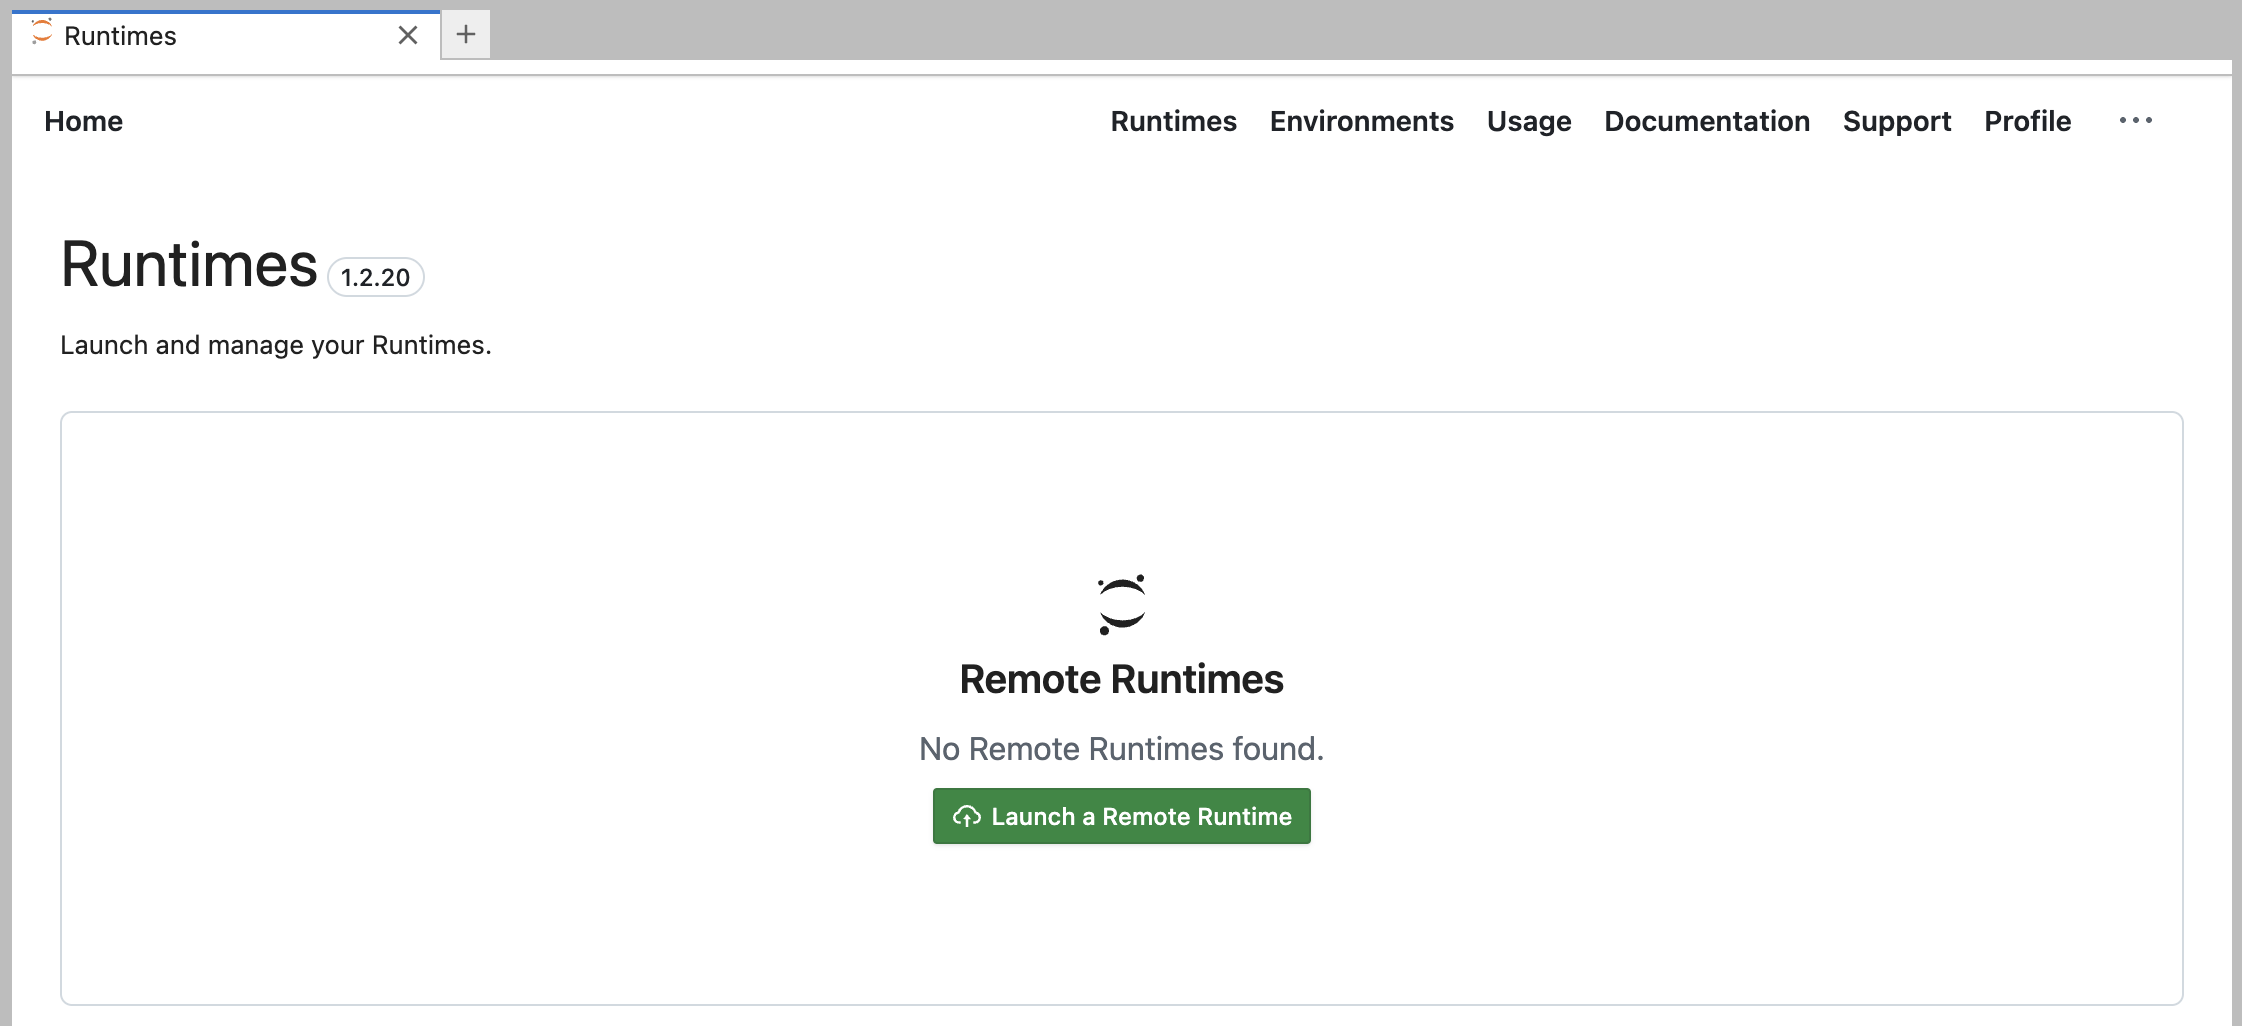
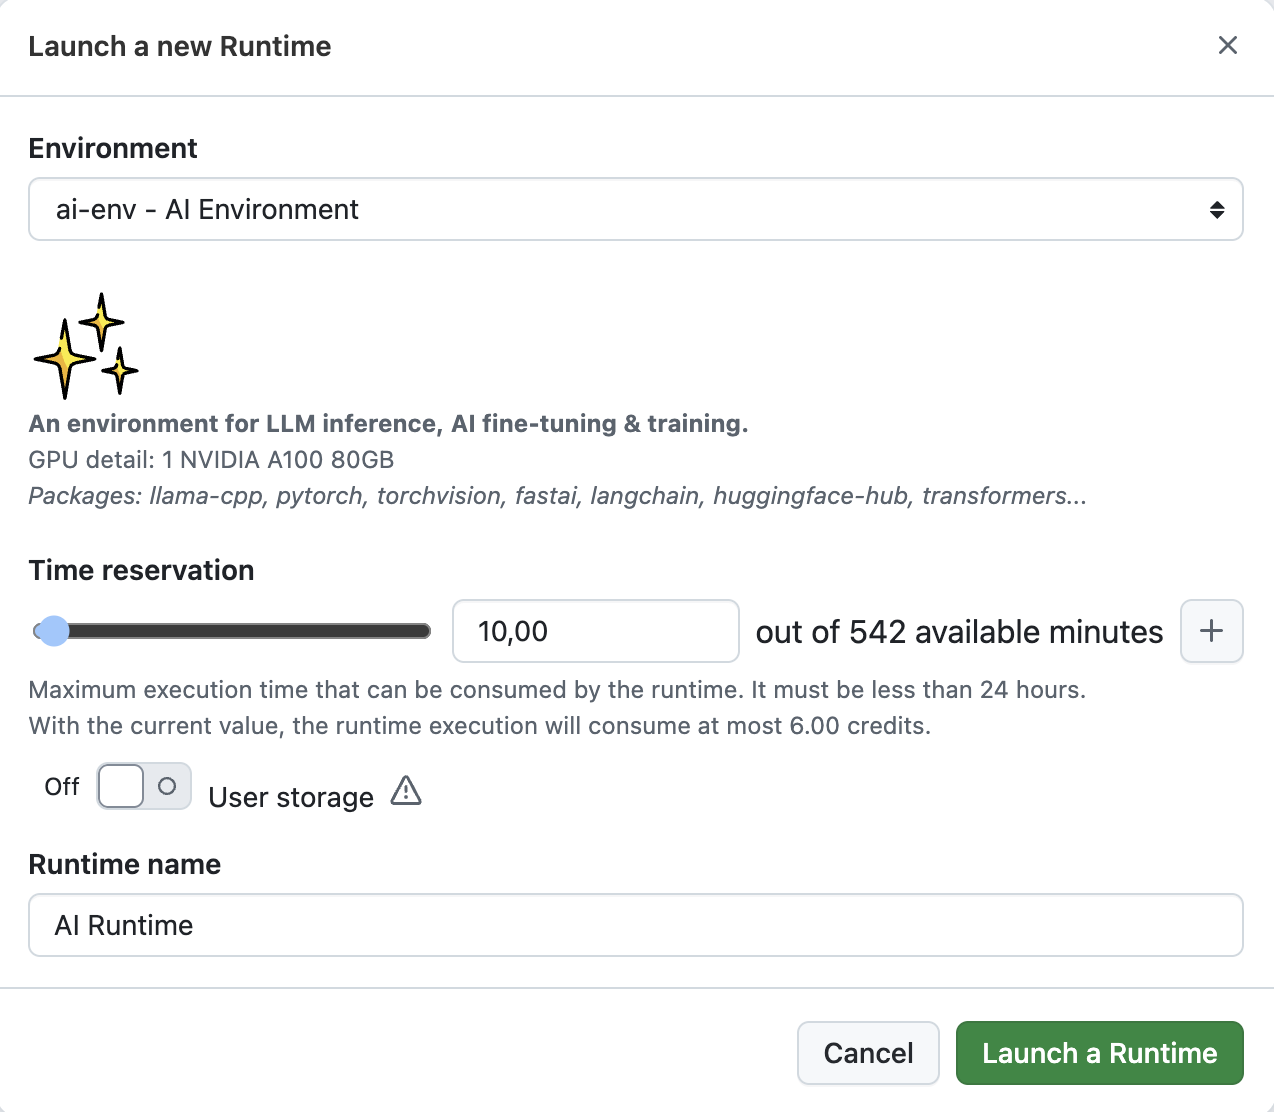
You can launch Runtimes from this page by clicking on the Launch a Remote Runtime button. The following window will open.
Refer to the Launch a Runtime feature documentation for more information on the different options available.
You can change the Runtime of any Notebook to a Remote Runtime by using the Runtime Picker. The Runtime Picker is located in the top-right corner of the Notebook interface.

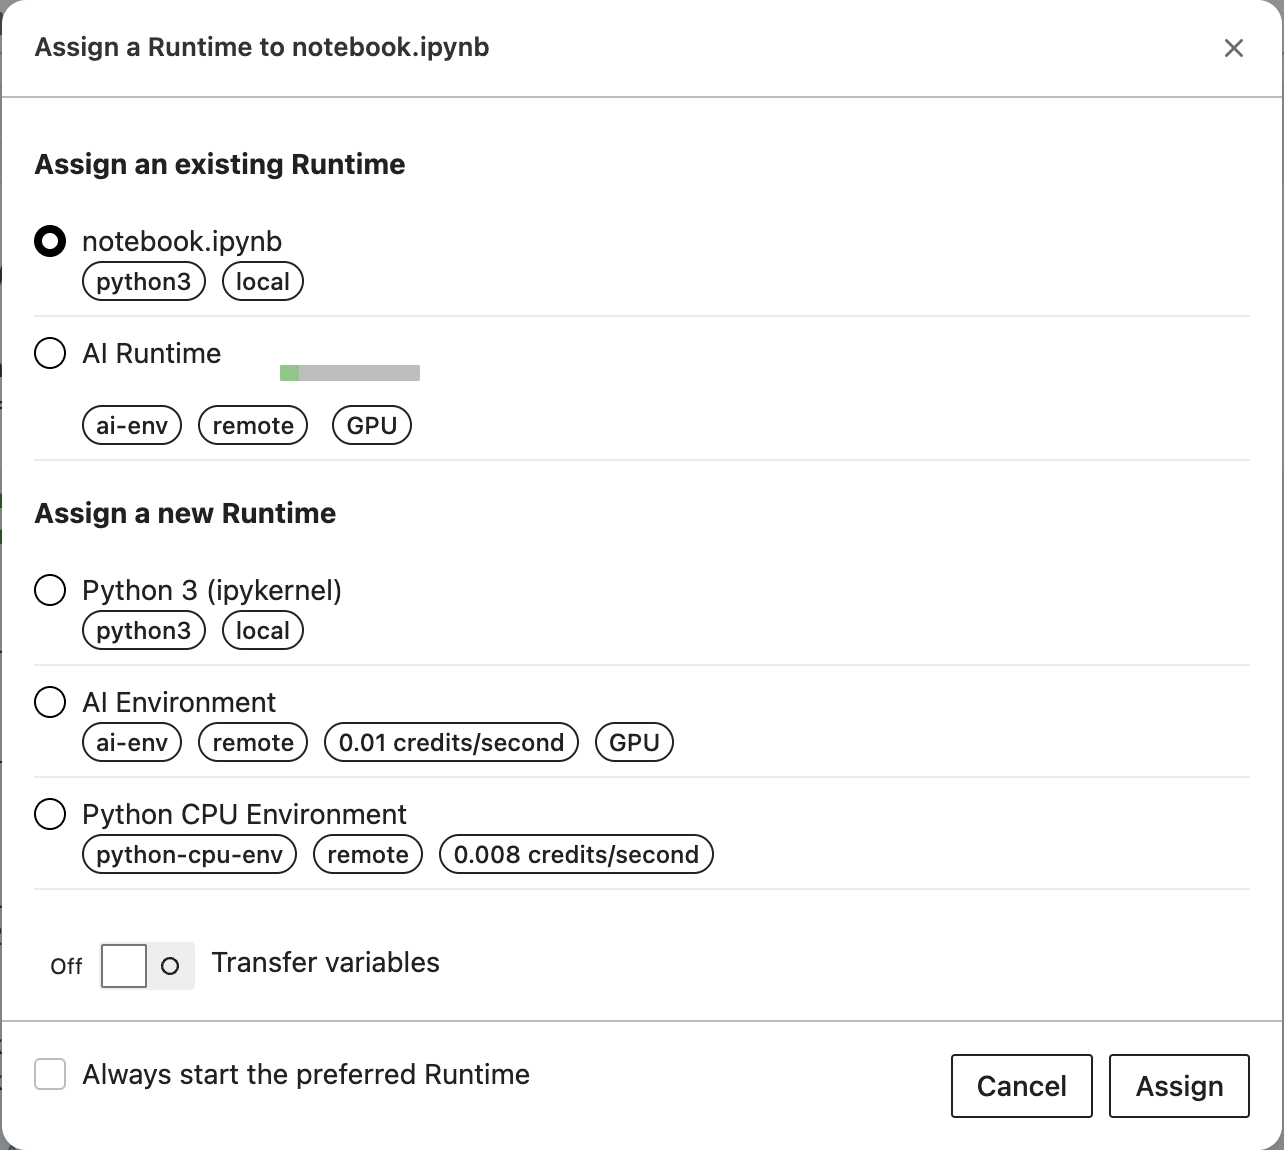
You can also launch a new Runtime directly from the Runtime Picker by selecting an environment in the 'Assign a new Runtime' section. You'll have the option to configure the Runtime settings, such as Time Reservation.
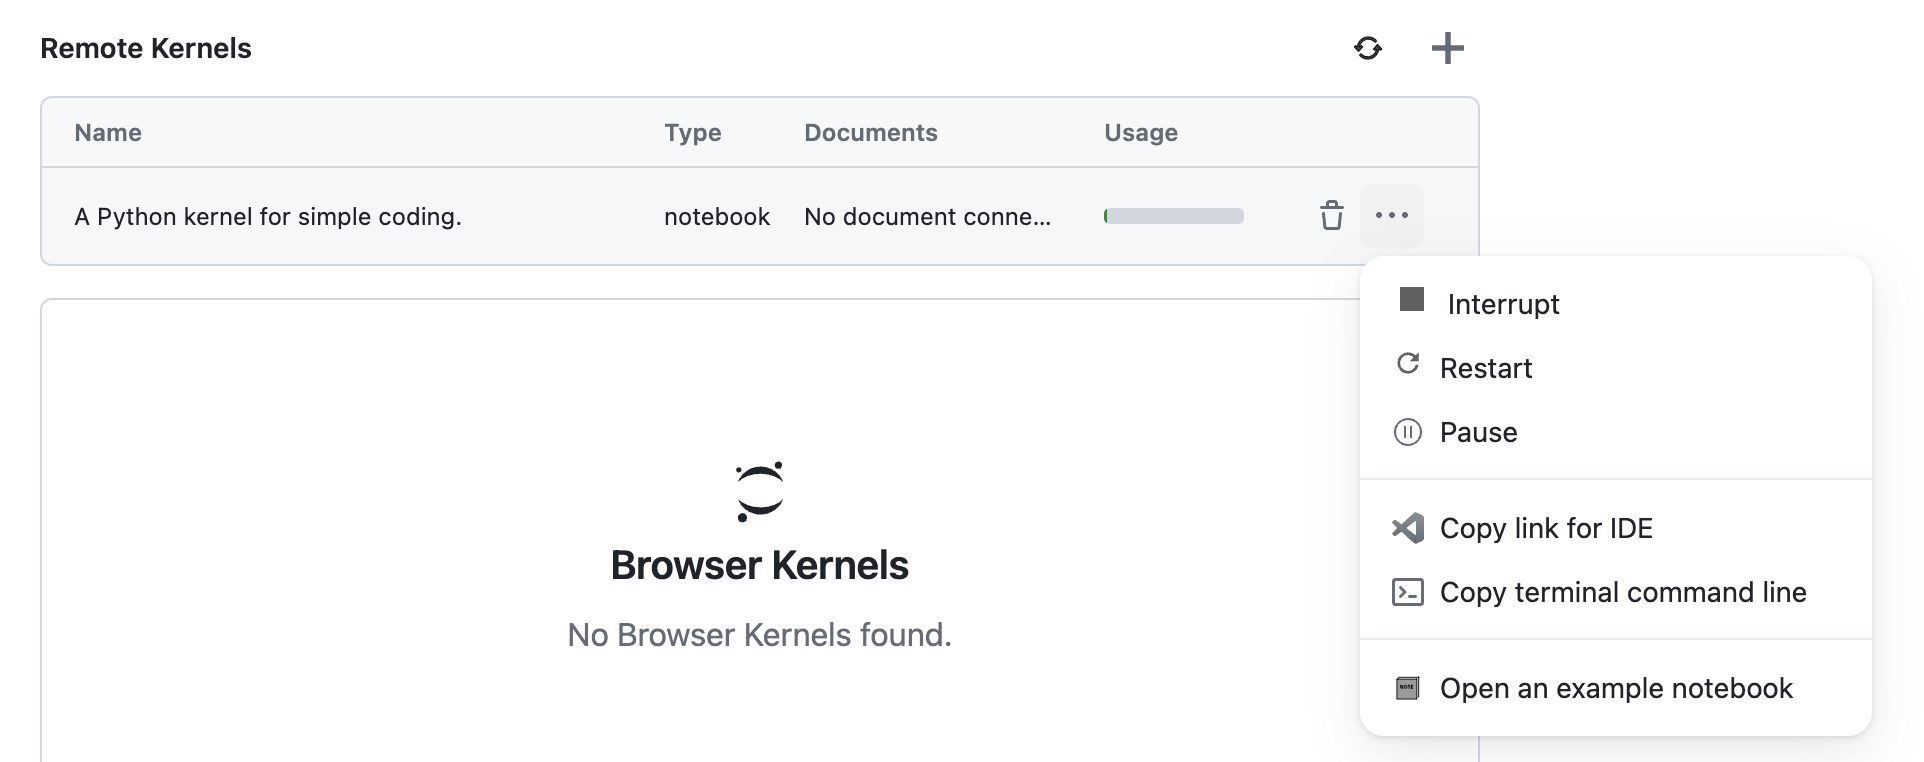
You can interrupt, restart and pause a runtime by clicking on the Interrupt, Restart or Pause button in the Runtime options.
Refer to the Interrupt a Runtime, Restart a Runtime and Pause a Runtime feature documentation for more information.
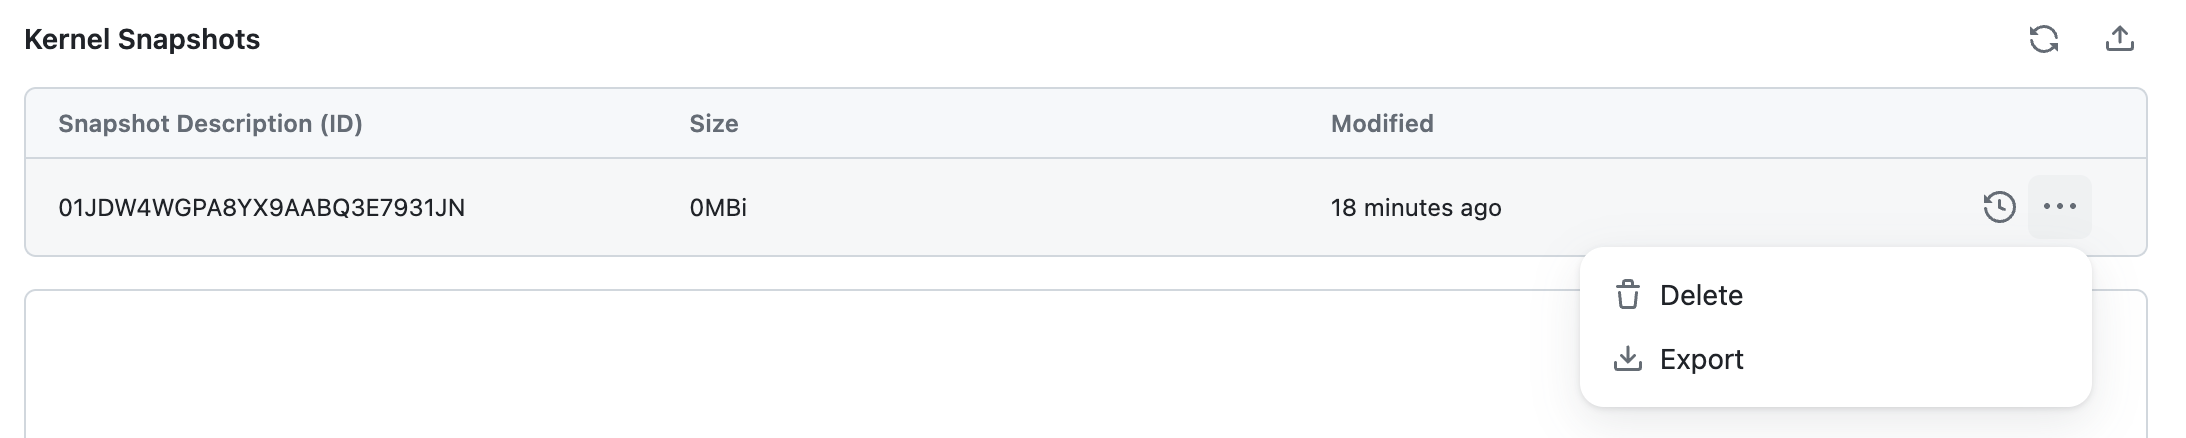
You can resume a runtime by clicking on the Resume button in the Runtime Snapshot options. Refer to the Resume a Runtime feature documentation for more information.

When changing the Runtime of a Notebook, Datalayer allows you to transfer the state, i.e. the already defined variables, to the new Runtime.
Refer to the Transfer a Runtime State feature documentation for more information.
If you want to transfer the state, you can toggle the Transfer variables option in the Runtime Picker.
This transfer state feature is also available when you assign a Runtime to a specific cell.
You can terminate a runtime by clicking on the trash icon. Refer to the Terminate a Runtime feature documentation for more information.

Cell Runtimes
Datalayer also allows you to selectively run specific Notebook cells on Runtime. This hybrid approach optimizes both performance and cost by using Remote resources only when necessary.
Learn more about this feature in our Blog Post.
To assign a cell to a Runtime, simply use the cell menu as shown below.
Runtimes Snapshots
You can manage your Runtimes Snapshots from the Runtimes tab.
Refer to the Runtimes Snapshots feature documentation for more information.
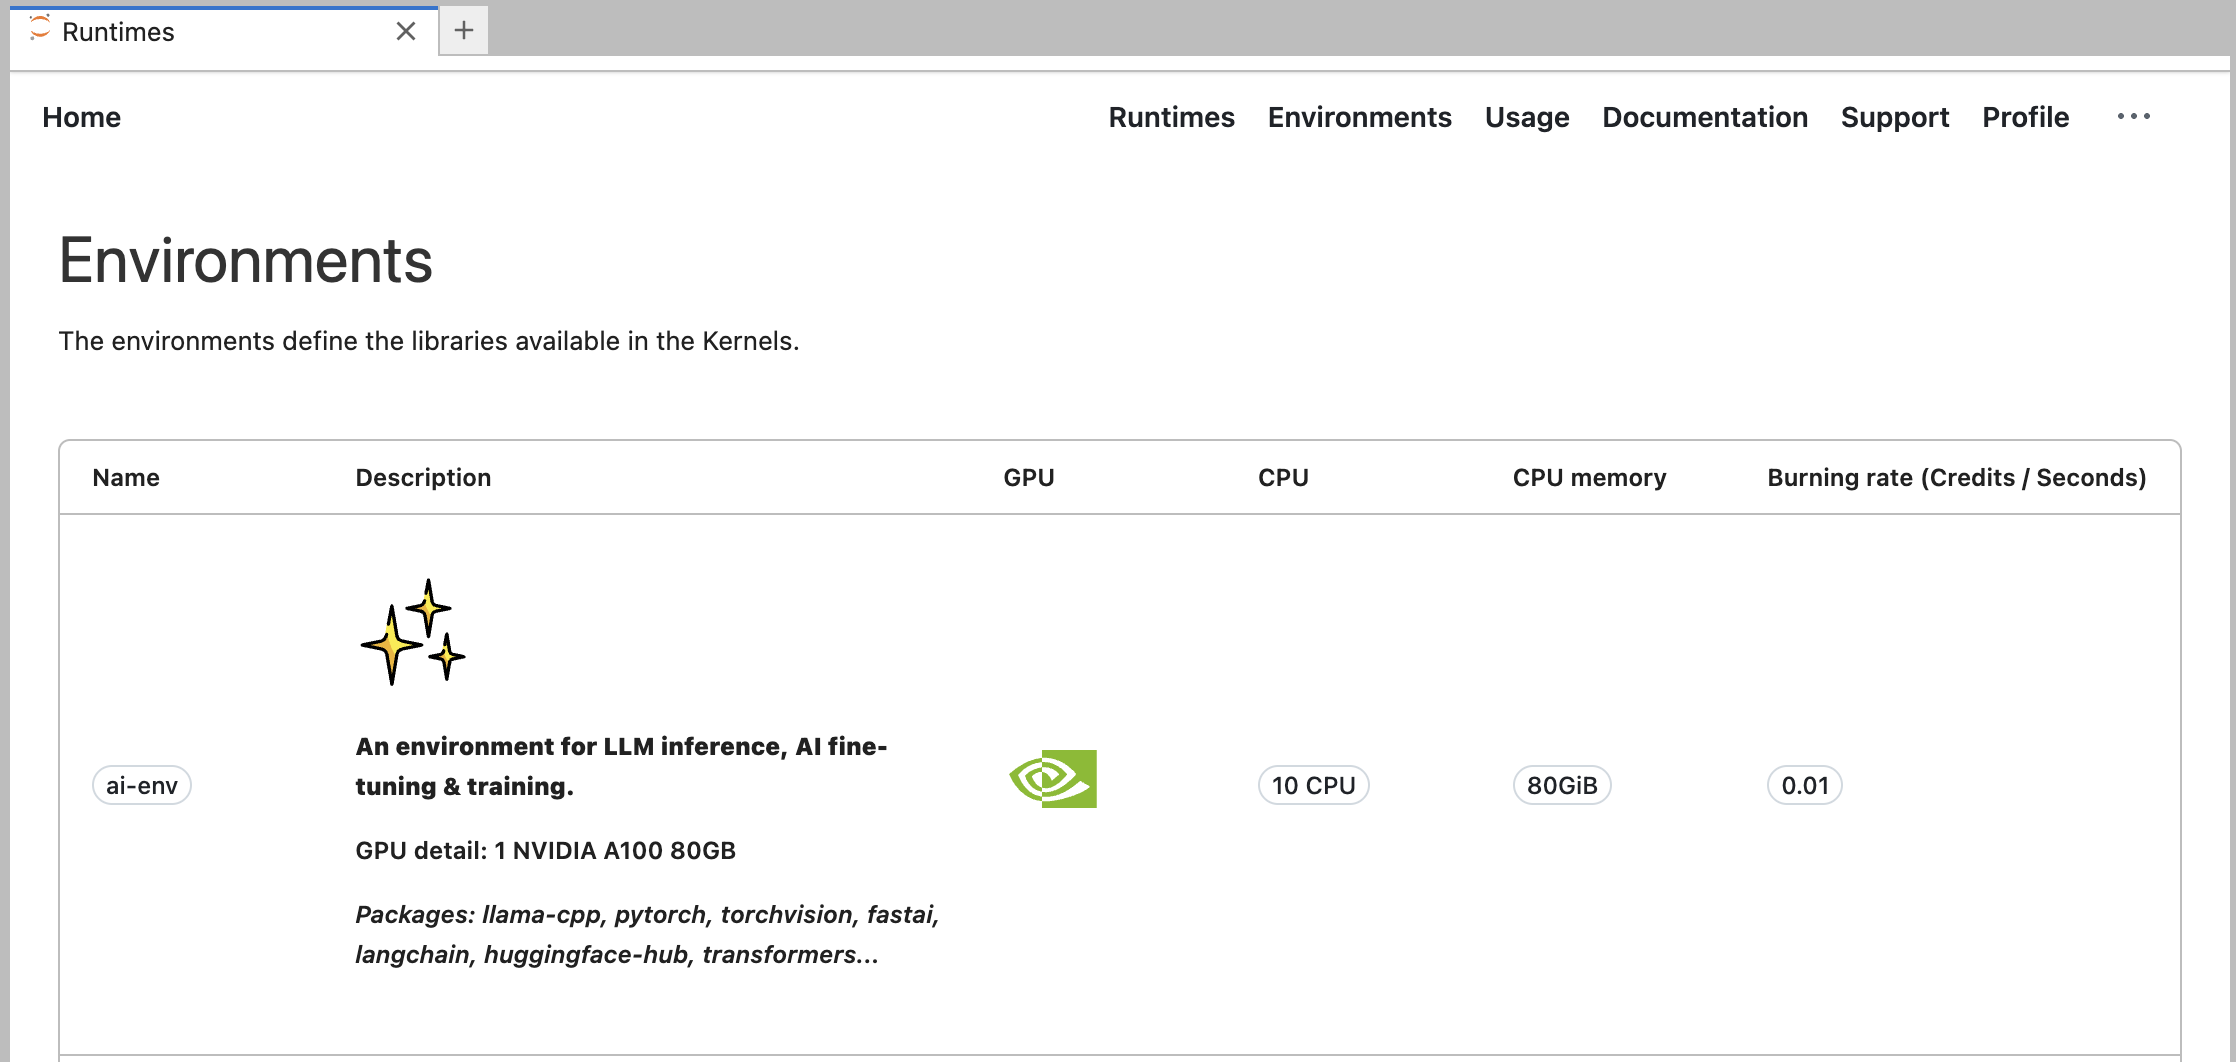
Environments
You can view the list of available environments the Environments tab.
Refer to the Environments feature documentation for more information.
AI Agents
You can use the AI Agent in JupyterLab Notebooks to enhance your productivity. Refer to the AI Agents feature documentation for more information.
The AI Agents do not currently consume credits! You can use and experience them for free 🎉
Click on the ✨ icon on the top right corner of a cell to open the AI Agent panel. Type your request in the input box and click on the Ask AI button to execute the request.
The AI model behind the AI Agent is gpt-4o mini from Azure OpenAI.
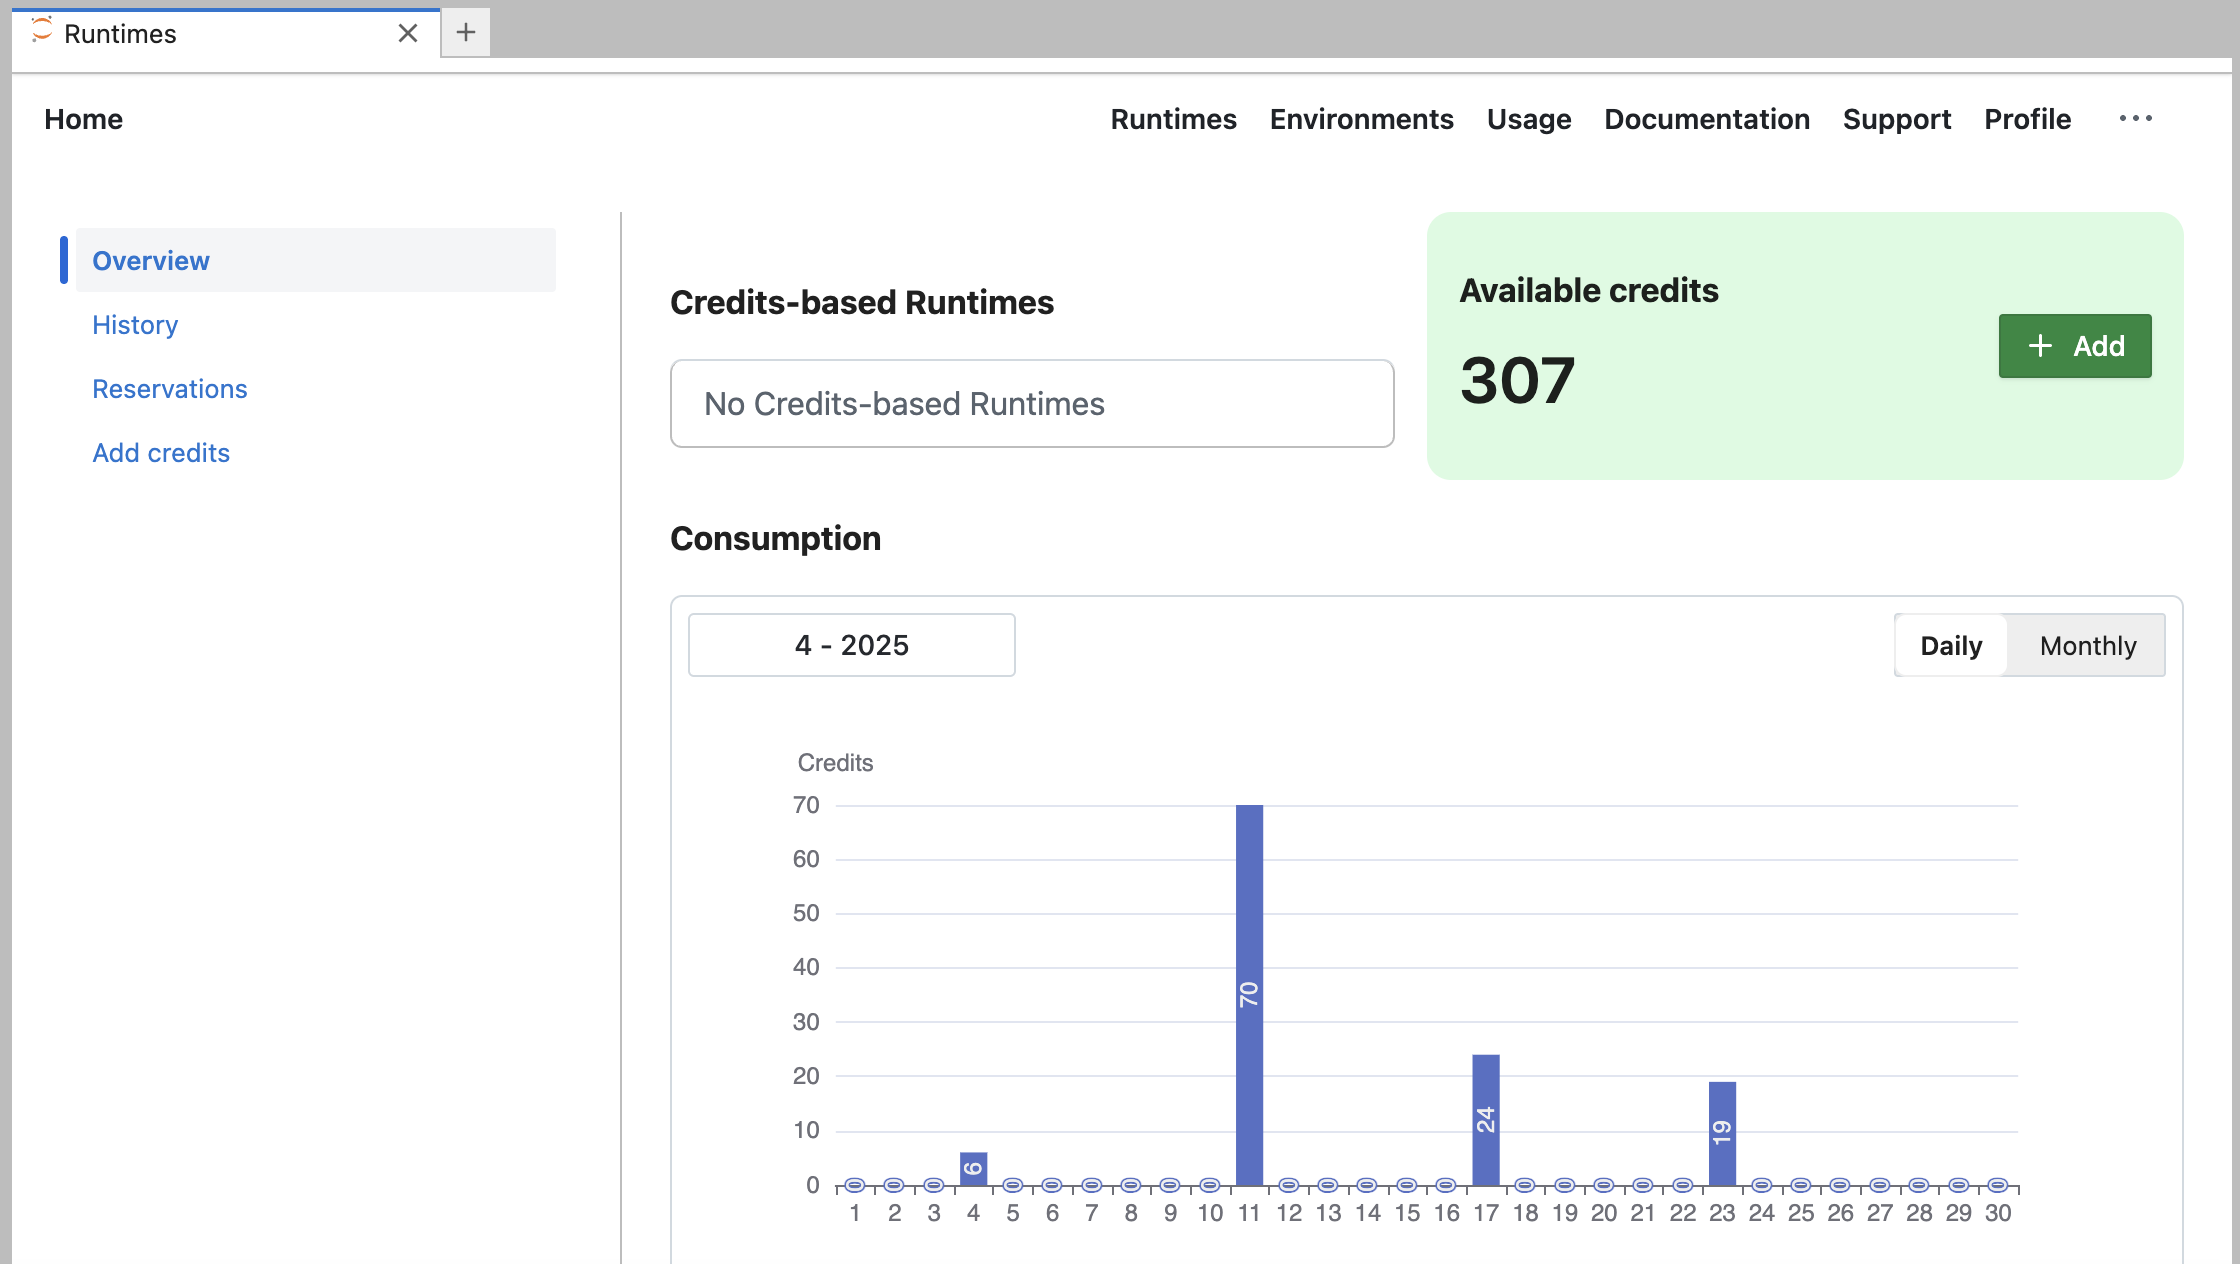
Credits
You can view your consumption of credits and buy credits in the Usage tab.
Refer to the Credits feature documentation for more information.